Once I had planned out what my Battle Arena was going to look like and gotten the hand of how to model a bit better in Maya I was then able to build my battle arena!
Modelling Process
For this battle arena, even though we had to import it into Unity at the end and animate a camera around the scene, I decided to model my whole environment to scale within Maya, unlike my Game Walkthrough. I have already done a blog post on how I learned to 3D model in Maya, so look at that if you haven't already seen it, but I basically used these techniques to 3D model my environment.
I realised that I had made things hard for myself because I was trying to model everything inside a closed boat and wasn't too sure how the best way to go around this was but then I was told that the arena needed to be in an open environment so that made my life easier. Instead, I changed my design a bit to make the boat look old and rusted, as if it had sunken a while back. This also fitted with the steampunk look that I wanted to create anyway so I still stuck with my original steampunk / robotic design ideas for the windows, chest filled with nuts and bolts and other things.
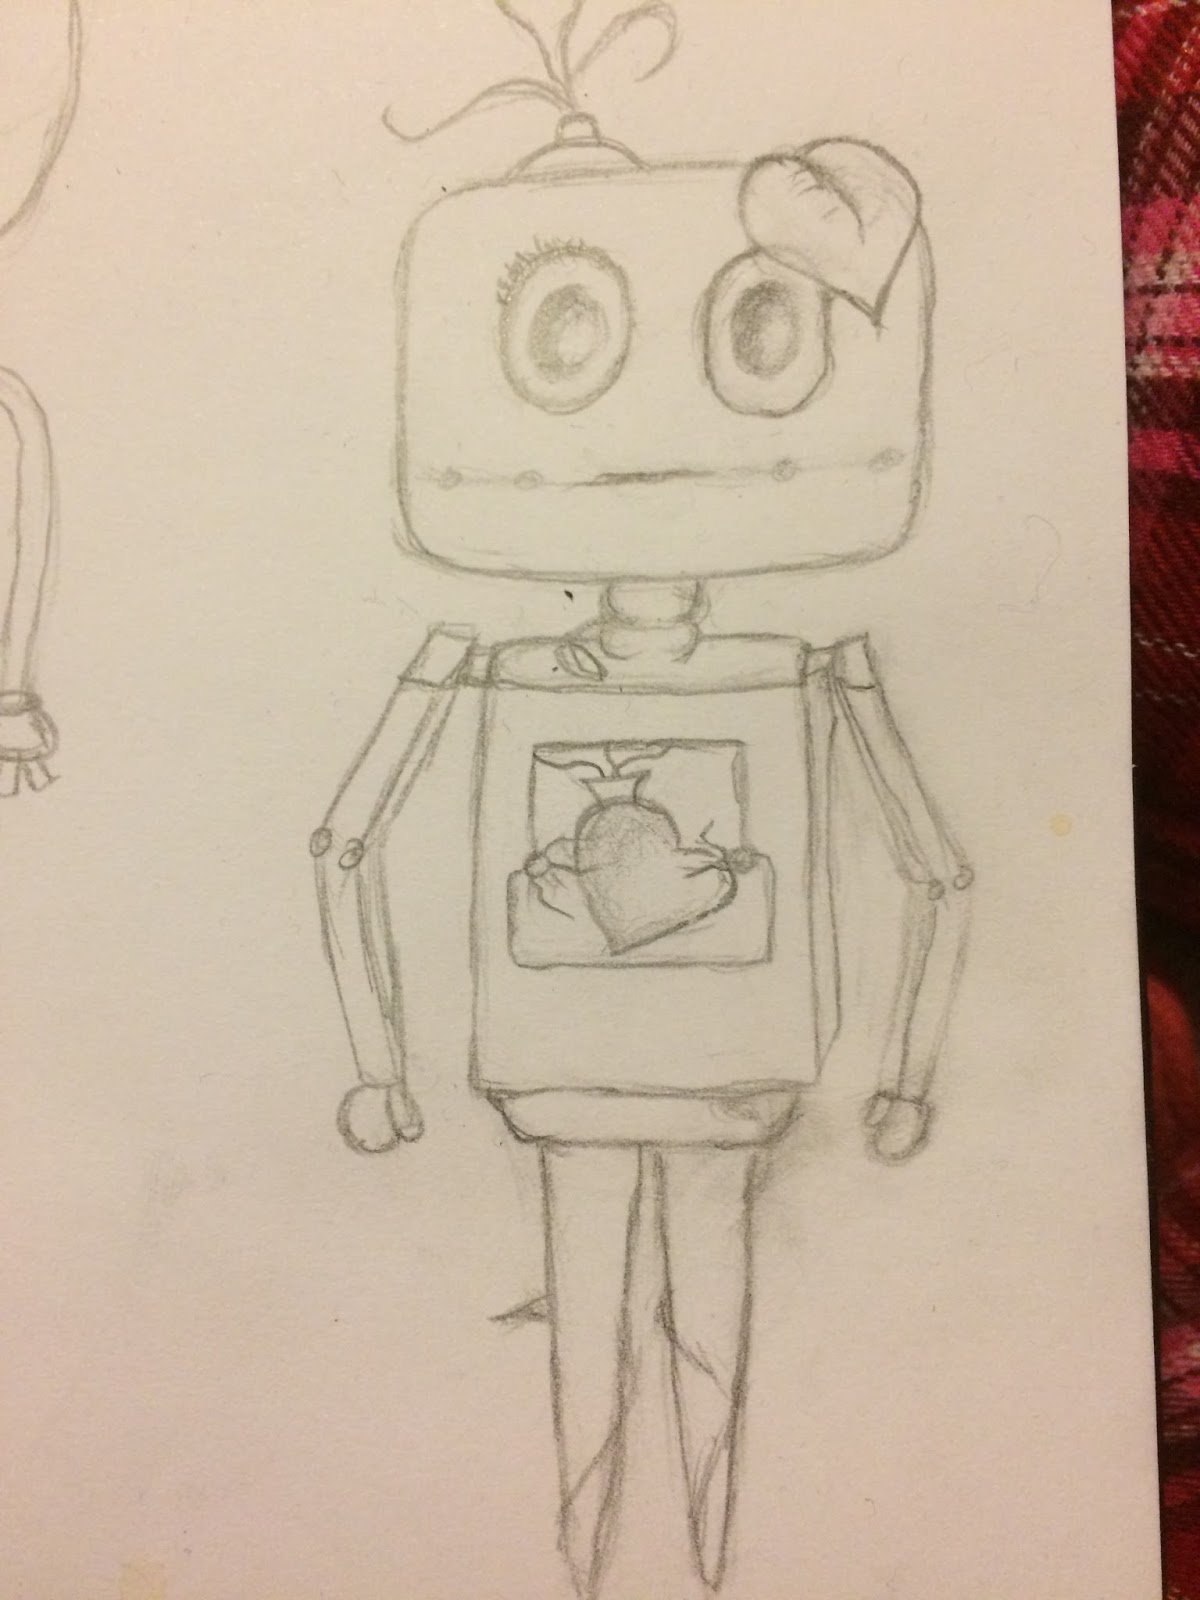
I attempted to make very complex 3D models such as fish, underwater anemone and of course, the robot Josef from Machinarium. I also used ncloth to create a realistic cloth model over the table within the boat which I then combined into the table to make into a mesh.

Little did I know that these complex (and sometimes rather messy) 3D models would come to haunt me during the texturing process of this battle arena....
Texturing Process
I'm going to be honest here, at first I found texturing extremely daunting. Mainly because of the UV maps that I had created for myself during the complex 3d modelling of a lot of my objects. I had a lot of work to do, stitching them together and then using the outline image as a reference to create my own textures. I turned on the turtle option for baking and reset the settings and output file so that I could bake my UV map and use that as a visual reference to how it looks as well as exporting the UV snapshot for the outlines of the UV map. I could then open these both in Photoshop and start creating my own textures for that object. I usually did this by gathering lots of different source images, such as rock, moss and coral and overlapping them, making them tile and using the eraser at different opacity settings to blend them all together to make a completely new texture out of the combined ones. I also used the layers overlay settings to change how a layer could look when on top of others, either making it hardlit, or just using the colour from the image, etc. I found this technique extremely useful because I wanted to keep the Machinarium art style within my battle arena so a lot of the time I would look for images of the game and then copy a small section of the scene and overlap it over the whole of my image, choosing to only add the colour of it to the texture that I already had made.


Now it was time to create the flyby camera in Unity to whizz around my scene, but first, I still wasn't happy with the way it looked. It still didn't look like it was underwater to me so I added a water ripple asset from Unity Standard Assets to sit on top of the rocks so that the camera to fly down through the water, emphasising that this was a sunken ship, as well as some lights around the scene to make it look more blue. I added a light above the water ripples which was a light blue colour which shone down on the scene and some blue and green lights dotted around the battle arena. This now made it look a lot more scenic and gave it the Rapture feel from Bioshock that I originally wanted to include from my moodboard.


Modelling Process
For this battle arena, even though we had to import it into Unity at the end and animate a camera around the scene, I decided to model my whole environment to scale within Maya, unlike my Game Walkthrough. I have already done a blog post on how I learned to 3D model in Maya, so look at that if you haven't already seen it, but I basically used these techniques to 3D model my environment.
I realised that I had made things hard for myself because I was trying to model everything inside a closed boat and wasn't too sure how the best way to go around this was but then I was told that the arena needed to be in an open environment so that made my life easier. Instead, I changed my design a bit to make the boat look old and rusted, as if it had sunken a while back. This also fitted with the steampunk look that I wanted to create anyway so I still stuck with my original steampunk / robotic design ideas for the windows, chest filled with nuts and bolts and other things.
I attempted to make very complex 3D models such as fish, underwater anemone and of course, the robot Josef from Machinarium. I also used ncloth to create a realistic cloth model over the table within the boat which I then combined into the table to make into a mesh.

Little did I know that these complex (and sometimes rather messy) 3D models would come to haunt me during the texturing process of this battle arena....
Texturing Process
I'm going to be honest here, at first I found texturing extremely daunting. Mainly because of the UV maps that I had created for myself during the complex 3d modelling of a lot of my objects. I had a lot of work to do, stitching them together and then using the outline image as a reference to create my own textures. I turned on the turtle option for baking and reset the settings and output file so that I could bake my UV map and use that as a visual reference to how it looks as well as exporting the UV snapshot for the outlines of the UV map. I could then open these both in Photoshop and start creating my own textures for that object. I usually did this by gathering lots of different source images, such as rock, moss and coral and overlapping them, making them tile and using the eraser at different opacity settings to blend them all together to make a completely new texture out of the combined ones. I also used the layers overlay settings to change how a layer could look when on top of others, either making it hardlit, or just using the colour from the image, etc. I found this technique extremely useful because I wanted to keep the Machinarium art style within my battle arena so a lot of the time I would look for images of the game and then copy a small section of the scene and overlap it over the whole of my image, choosing to only add the colour of it to the texture that I already had made.
 |
| This is the photoshop file for a barrel in my scene |
 |
| What the UV map looks like after importing my handmade texture for my robot
To apply a texture to the 3D model I simply opened up my hypershader window, created a new lambert, gave it a relevant name and in colour added a file instead and then included the image that I wanted to use. After that it's just a matter of dragging the chosen lambert and dropping it onto the model you want to texture!
 |

I only did that on the very complex and important models however as this was a very lengthy process, there are also other ways that i textured my assets within my game. One way was to select certain parts of the UV map and drag and drop a texture to the selected polygon faces, this way you can include more than one texture for the model and assign them individually. I used this method for models such as the boat, where the UV map was pretty fiddly but I only had a couple of differences that I wanted to be shown.
Another method is tiling, either tiling just one image for the whole model or for the certain parts that you've chosen. By expanding the UV map over the image the image with then start to tile across the whole of the model which has turned out to be an extremely handy technique as at the very start I was trying to tile textures by hand which took a very long time! You can also make the UV map smaller to make the texture larger on the model and more detailed.

I made plenty of trial and error mistakes during this texturing process, including forgetting for a very long time how to automatically unwrap UV maps so whenever I textured them the textures would end up looking extremely stretched and unrealistic.
 |
| How textures were before automatic unwrapping |
But once I started to understand the texturing processes above I found creating my own textures a very enjoyable task!

Creating Flyby Camera
When I was happy with how everything looked in Maya I then imported it all into Unity using File > Send To Unity > All. To my horror it all came in as a greybox! But luckily the UV maps all kept their position and the reference to the textures were all there, all I had to do was import my image files and drag and drop them to the right components and it was all textured again in no time. Phew!


Now it was time to create the flyby camera in Unity to whizz around my scene, but first, I still wasn't happy with the way it looked. It still didn't look like it was underwater to me so I added a water ripple asset from Unity Standard Assets to sit on top of the rocks so that the camera to fly down through the water, emphasising that this was a sunken ship, as well as some lights around the scene to make it look more blue. I added a light above the water ripples which was a light blue colour which shone down on the scene and some blue and green lights dotted around the battle arena. This now made it look a lot more scenic and gave it the Rapture feel from Bioshock that I originally wanted to include from my moodboard.


For the flyby camera I selected the main camera which was already within the scene and opened up the animator window, I could then use keyframes to change the cameras position and rotation around my battle arena at different times so that it could animate smoothly around the whole arena. Because my sunken ship is the most detailed object within the arena I made the camera pan slowly around and over that and then back around the whole arena to end up facing it straight on.

Overview
Overall I'm very happy with what I was able to achieve. I was very worried about the texturing of this arena after I realised that I had overcomplicated a lot of the battle arena assets as we're not make characters until next term but I had already attempted to make one, my little robot. But I was determined to make it work and make the underwater scene become something that I'm proud off and I think all of the hard work paid off in the end! I am still not too happy about the surrounding area of the boat, I was hoping to create perhaps squid tentacles coming out of a crevice and other things but in the short time that I had I had to make it a lot more simple than I originally intended. There are also still some textures that I feel need to be tweaked as I can see that some of the objects have parts of the texture that still stretches out.
- 05:42
- 0 Comments